Pip install is the command you use to install Python packages with the Pip package manager. If you’re wondering what Pip stands for, the name Pip is a recursive acronym for ‘Pip Installs Packages.’ There are two ways to install Python packages with pip:
- Manual installation
- Using a
requirements.txtfile that defines the required packages and their version numbers.
But before we start, let’s make sure pip itself is installed!
Table of Contents
Python: Install Pip
First things first: we need to install pip itself. The good news is that Pip is probably already present in your system. Most Python installers also install Pip. Python’s pip is already installed if you use Python 2 >=2.7.9 or Python 3 >=3.4 downloaded from python.org. If you work in a virtual environment, pip also gets installed.
So before you try to install Pip, ensure it’s not already on your system. Open a terminal (Linux/MacOS) or a Windows shell, and type in the following command:
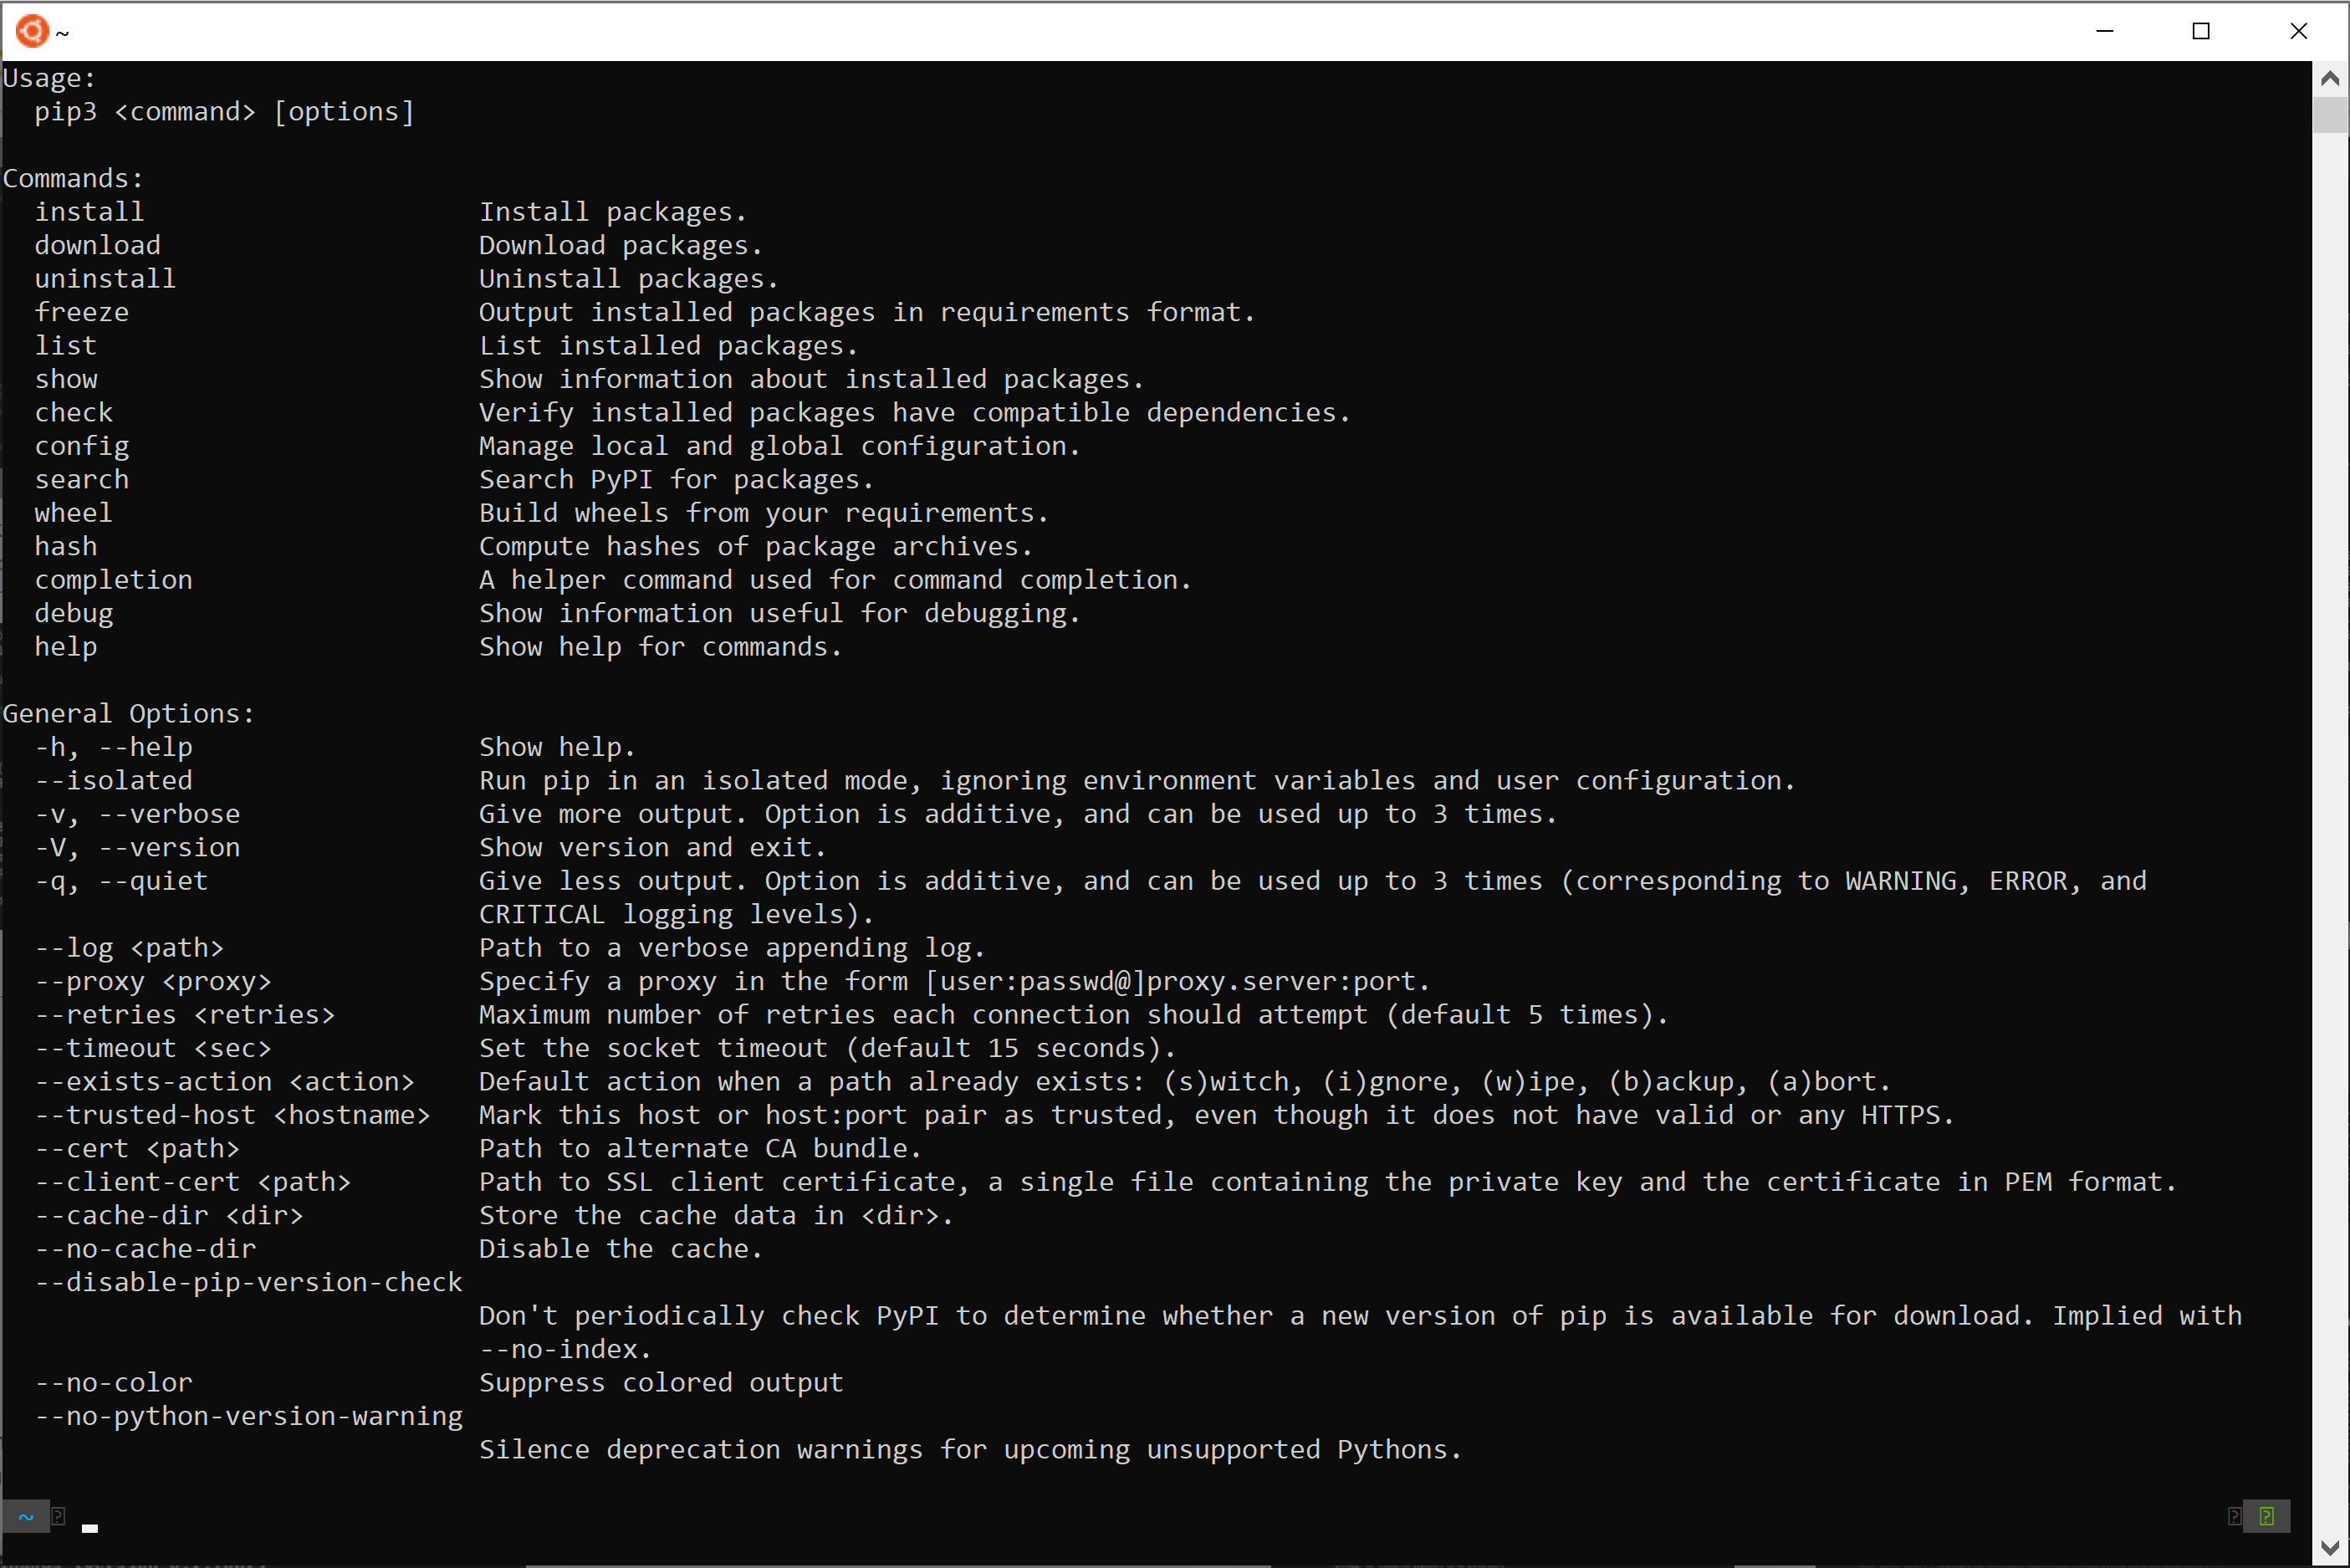
pip helpCode language: plaintext (plaintext)If the pip command gives an error, try pip3 instead. Python 2 and 3 can be installed next to each other on some systems. On those systems, pip is often installed under the name pip3:
pip3 helpCode language: plaintext (plaintext)If that didn’t work either, you can try the pip module that is built into most modern Python installations:
python3 -m pip helpCode language: plaintext (plaintext)If that failed, too, you need to install it yourself, so let’s take a look at how to do so manually. You should do this only as a last resort, and I strongly suggest you first check if your Python installation went well.
Install Pip on Windows and Mac
On Windows and Mac, you can download a Python script to install pip, called get-pip.py. Download the file and run it with Python from a command prompt or terminal window:
python3 get-pip.pyCode language: plaintext (plaintext)Make sure you are in the directory where the script was downloaded.
Install Pip on Linux (Ubuntu, Debian, Redhat)
You can install pip with the apt package manager on Debian, Ubuntu, Linux Mint, and other Debian derivatives. This is the most recommended method and ensures your system stays consistent.
$ sudo apt install python3-pipCode language: Bash (bash)If your system uses the yum package manager, you can try the following:
$ sudo yum install python-pipCode language: Bash (bash)Pip is part of EPEL (Extra Packages for Enterprise Linux), so you might need to enable that first.
If these methods fail, you can also download a Python script that will install pip for you, with the following commands:
$ curl "https://bootstrap.pypa.io/get-pip.py" -o "get-pip.py"
....
$ python3 get-pip.pyCode language: Bash (bash)
Pip Install Python packages
I can’t stress this enough: preferably, you install packages inside a virtual environment. And the good news: pip is present inside your virtual environment by default. Because everything in our venv is installed locally, you don’t need to become a superuser with sudo or su and you don’t risk package version conflicts.
Having said that, you can also install packages outside of a Python venv. This is only recommended for the more generic packages that you might need in a lot of scripts, or if the package functions as a more generic tool. Some example libraries that would fit this description would be Numpy and Pandas, a REPL alternative like ipython, or complete environments like Jupyter Notebook.
Install locally (no root or superuser)
Luckily, these days, the Python installation on most OSes configures your system so that you don’t have to become an administrator (or root on a Unix system) to install packages outside of a venv. After all, you won’t always have the super-user rights to install packages system-wide, e.g., when working on a shared or locked-down system at work or school.
In such cases, you can install packages to the Python user install directory for your platform by using the --user option. This will typically mean packages are installed somewhere in:
-
~/.local/on Unix-like systems. %APPDATA%\local\programs\pythonon Windows
In fact, installing packages in the local install directory is often the default these days when running outside of a virtual environment. So Let’s try to upgrade our account-wide pip installation first. Make sure you are not currently in a virtual environment and enter:
pip install --upgrade pipCode language: plaintext (plaintext)Depending on the Python installer you used and the system you are on, pip may try to install packages system-wide. As a result, if you don’t use something like sudo or become an administrator, you might get permission errors. If you get permission errors, it means pip tried to install it system-wide. In that case, you can add the --user option to force it to install in your system account instead:
pip install --user --upgrade pipCode language: plaintext (plaintext)These commands asked pip to install pip in your user account, and update it if it’s already installed. On my system, this gives me the message that the requirement is already satisfied, meaning that pip is already up-to-date.
Now, as an exercise, you could try to install ipython. It’s a great alternative to the standard Python REPL.
Consider pipx
If you need to install packages system-wide, it’s often because they are some kind of tool that you use often (like Poetry, black, Jupyter Notebook) instead of a dependency that your project needs. If this is the case, pipx is the ideal tool to use.
Install Python packages in a venv
Now let’s try to install a package inside a virtual environment. For this example, I picked simplejson. First, activate your virtual environment, and then type:
pip install simplejsonCode language: plaintext (plaintext)You just installed a package inside of your virtual environment, and as such it will only be accessible when you activate this venv.
Install Python packages system-wide
Let me first repeat that I don’t recommend this. If you jumped in here without reading the rest of the topic, please read the section above about installing packages in your user account or in a virtual environment first.
On Linux, you can install a package system-wide by doing so as the root user. I strongly suggest you don’t, but here’s how to do it by using sudo:
$ sudo pip install --upgrade pipCode language: Bash (bash)Pip install requirements.txt file
In a virtual environment, installing specific versions of packages is a good habit. It ensures that you reap the full benefits of using virtual environments in the first place. After all, we do this to ensure our software always works as intended by pinning down specific dependency versions.
A requirements.txt file contains a simple list of dependencies, one per line. In its most simple form, it could look like this:
simplejson
chardetCode language: plaintext (plaintext)
But what we really want is to pin the versions. That’s not hard either:
chardet==3.0.4
simplejson==3.17.0Code language: plaintext (plaintext)
You can also relax these constraints a little, by using >= and <=, or even a combination of those:
chardet>=3.0.0,<=3.1.0
simplejson>=3.17.0Code language: plaintext (plaintext)
You can use any of these specifiers: ==, >, >=, <, <=
What version range to pick
How do you know what range to use? Most tutorials and courses seem to avoid this topic. Unfortunately, there are no hard rules. You will have to read the release notes and such from the package(s) in question.
For example, let’s assume you are using two packages, A and B. Perhaps you know that a certain feature became available in package A, version 3.1.0, so you require at least that version. But from the news, you learned that the author is planning a major overhaul of package A’s API in version 4.0.0. In addition, package B is a bit stale and poorly maintained. It’s been stuck at version 0.6.2 for ages and requires package A version 3.1.6 or lower (while A is currently at 3.5.0). You could define the following constraints to ensure everything works together nicely:
A>=3.1.0,<=3.1.6
B==0.6.2Code language: plaintext (plaintext)
You see, it requires some juggling sometimes to define version constraints properly. That’s why many developers use an alternative to Pip, like Poetry or Pipenv. These tools offer advanced dependency management and will resolve all the dependencies automatically, if possible. We take a close look at the package managers further on in this course. Right now, we’re making sure you understand the basics. This way, the package managers will seem less magical, and you’ll better understand what they do for you. This is not the fun stuff when it comes to
Pip freeze
Creating your requirements file using pip’s freeze option can make your life a little easier. First, write your software and install all the requirements you need as you go. Once you’re done and everything seems to work fine, use the following command:
$ pip freeze > requirements.txtCode language: Bash (bash)Pip created a requirements.txt file with all the currently installed dependencies, including version numbers. Neat! You may choose to relax the versions a little, e.g. to allow for minor updates (bug fixes, security fixes) to a package. But remember that it’s a risk too: there’s always a chance of ending up with a project that doesn’t work as intended because one of the requirements changed the behavior of its API or something.
Pip Install from a requirements.txt file
Finally, to install all the dependencies listed in this file, use:
$ pip install -r requirements.txtCode language: Bash (bash)It’s an instruction that you’ll often see when reading the installation instructions for Python projects, and now you know exactly what it does and how it works!
Custom repository with pip install -i
The default PyPI repository is located at https://pypi.org/simple. You can use an alternative repository as well, though. For example, if your company only allows a subset of approved packages from an internal mirror. Or perhaps your company has a private mirror with their own package. This repository can be located on an HTTP(s) URL or on a file system location.
To specify a custom repository, use the -i or --index-url option, like so:
pip install -i https://your-custom-repo/simple <package name="">

or

pip install -i /path/to/your/custom-repo/simple <package name=""></package></package>Code language: plaintext (plaintext)
The URL must point to a repository compliant with PEP 503 (the simple repository API) or a local directory laid out in the same format.
Editable install with pip install -e
Pip has the option to do an editable install, meaning you can install a package from a local source. But instead of copying the package files to some location on your system, pip creates symlinks to the codebase you’re installing it from. This way, you can work on the project and make changes and be able to directly test those changes without constantly reinstalling new versions of the package.
There are a number of reasons why you might need this option:
- When you are creating your own package
- If you want to fix someone else’s package
- If you want to install a so-called bleeding edge version of a package, right from its source repository
The editable install option is called with the -e option or --editable option. Let’s see what pip has to say about this option:
pip install --help

  ..
  -e, --editable Install a project in editable mode (i.e. setuptools "develop mode") from a local project path or a VCS url.
  ..Code language: plaintext (plaintext)
Typically, you will be working on a project using a version control system like git. While inside the root of the repository, you would install the project with:
pip install -e .Code language: plaintext (plaintext)If you’re not in the project root, you can simply supply the path to the package source code instead of using the dot.
Pip uninstall
To uninstall a package with pip, we can use the ‘uninstall’ subcommand, e.g. to uninstall simplejson:
pip uninstall simplejsonCode language: plaintext (plaintext)In line with the pip install command using a requirements file, you can also use such a file to uninstall packages:
pip uninstall -r requirements.txtCode language: plaintext (plaintext)More pip commands
We can also use pip to get more info about a package or the currently installed packages. Pip also offers a search function. Let’s explore these additional commands.
Pip list: listing installed packages
To list all the currently installed packages using pip, use the following command:
$ pip list

Package                 Version
----------------------- ---------------------
async-generator         1.10
attrs                   20.3.0
autopep8                1.5.7
...Code language: plaintext (plaintext)
It will show both package names and versions. When you run the command inside a virtual environment, only the packages of the venv are shown. All account-wide or system-wide packages will be listed if you run it outside of a venv.
Pip show: get package details
Now that you know which packages are installed, you may need to inspect one in more detail. For this, we have the ‘show’ sub-command:
$ pip show attrs
Name: attrs
Version: 20.3.0
Summary: Classes Without Boilerplate
Home-page: https://www.attrs.org/
Author: Hynek Schlawack
Author-email: hs@ox.cx
License: MIT
Location: /usr/lib/python3/dist-packages
Requires:
Required-by:
Code language: plaintext (plaintext)
It’s a quick way to determine what a package is and does, and who authored it.
Pip search: find packages
We used to be able to find all packages matching a certain string using pip. Although convenient, this introduced a big load on the servers over at PyPI. Unfortunately, they’ve decided to disable the feature. Luckily, we still have search engines like DuckDuckGo, Google, and Bing to find stuff!
The Python Package Index
We haven’t talked extensively about the Python Package index yet, which is located at pypi.org. The site offers us a few things:
- You can create an account, which you need only when you want to publish your own packages
- It offers a search function (more on this further on)
- It shows us use stats, like the total amount of packages and user
- We can browse by category
To be honest, the Python package index is somewhat lacking, and I don’t think many people use the site beyond reading some package information.
PyPI search function
An example of how to site’s functionality doesn’t offer much value is the search function. If you know exactly what you are looking for, it’s okay. For example, let’s try a search for the immensely popular requests package. It will show up first, and we can click through to the information page here where we can see things like:
- A description of the package
- The author’s name and email address
- links to the project’s homepage, documentation, and source code
- A list of historic releases
The package authors provide all this info, so keep that in mind.
Now suppose we can’t remember the name requests, and we search for the word HTTP instead:
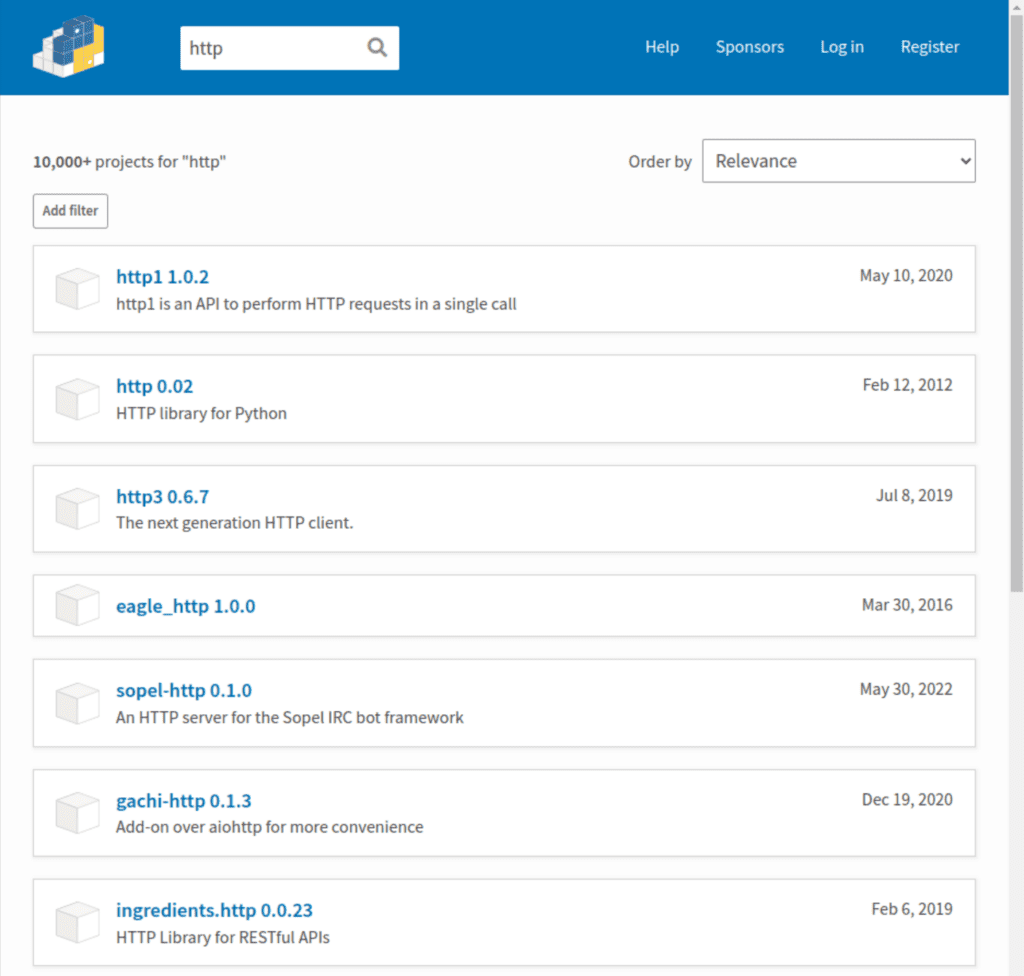
You can try and see for yourself if you want: the requests package is nowhere to be found. So if you need to discover a library to do a specific thing, like making HTTP requests, I strongly suggest you use Google instead.
A simple Google search will yield that Python has a built-in HTTP library, which might be good enough. However, several of the first results also mention requests, giving us a strong indicator that this package is used a lot.
PyPI Categories
If you browse the categories instead, you’ll also find that they aren’t very helpful. Luckily, the Python community is strong, and many sites (like Python Land!) fill in the gaps and offer good advice on which packages to use.
So, in short: the PyPI site won’t be very useful for discovery. Still, it will be more than adequate to give you package information and links to documentation and source repositories.
Be careful what you install
It is crucial to realize that anyone can upload packages to PyPI. This includes bad actors. Unfortunately, this is not a hypothetical issue. There have been several examples of malicious packages masquerading as known projects. E.g., someone might upload a package called requests2. There are many tricks you and I wouldn’t think of to deceive people. So this raises the question: how do you know which packages to trust and which to avoid?
How to know which packages are trustworthy
I’ll outline a few steps you can take to significantly reduce the risk of installing a malicious package.
- Do a Google search for the package name. Well-known packages like
requestsare mentioned a lot in articles, tutorials, etcetera. - Visit not just the PyPI page but also the accompanying source code page (most often, that will be Github).
- Look up the package on libraries.io. They show a few interesting metrics per package, one of which is called ‘Dependent packages.’ This number shows how many other packages use this package, giving you a strong indication of its popularity and trustworthiness.
- Finally, when installing the package, double-check the name before hitting enter to avoid typo squatters.
Keep learning
This article is part of a free Python Tutorial. You can browse the tutorial with the navigation buttons at the top and bottom of the article or use the navigation menu. Here are some other articles and links you may want to check out:
- If you want a more feature-rich alternative, you should check Poetry or Pipenv.
- Check out my virtual environments tutorial, if you haven’t already done so.
- If you want to learn more about pip and all its options, visit the official PyPI documentation.
- Read about pip’s configuration files
- The official Python.org section on editable installs (also called development mode)