Table of Contents
What is Continuous Integration/Continuous Delivery?
When you finish a new version of your Python application, how do you build and deploy it? Do you change the version number, upload the new files to production, and be done with it? There is a better way to do this, called continuous integration and continuous delivery.
Instead of manually performing all the tedious steps to get your software to production, you can also automate this. Luckily, you don’t have to build this automation yourself. Instead, you can use one of the many Continuous Integration/Continuous Delivery (CI/CD) systems that are available.
CI/CD is the pinnacle of good software engineering practices. It’s the point where all other good practices come together. CI/CD bridges the gap between development and operations because it automates and enforces important steps in building and deploying software. It ensures quality and takes human errors out of the loop.
We will take an existing application and create a CI/CD pipeline for it. You’ll see how you can set up a professional CI/CD pipeline in under 15 minutes!
Requirements
To set up a good CI/CD pipeline, we need to have some other practices in place first:
- We must use a code version management system like Git.
- Our application should have automated tests (unit tests, integration tests).
- We should have at least a development, test, and production location for our software.
- We need a CI/CD system.
Setting up CI/CD may seem like a daunting adventure, but it really isn’t. In fact, you can allow yourself some shortcuts when starting out. To get started quickly:
- Our test and development location will be our own PC.
- We’ll start with just one unit test.
- We’ll use GitHub to host our code, and we’ll use Docker Hub to host our finished application.
That leaves us with the final choice: which CI/CD system to use?
Which CI/CD system to choose from?
Several vendors offer CI/CD systems. A well known and open-source system I’ve used in the past is Jenkins. It’s been around for a long time. The downside: it requires knowledge and time to set up and run. I’ve also been forced to use Atlassian at a company I worked for in the past, but I never got to like the product.
To get up and running really fast and show you how easy this can be, I’ll use Buddy in this article. It’s offered as a cloud service, and their free tier still allows you to create 5 projects. Their interface is absurdly intuitive; it even suggests suitable actions to you after initially analyzing your code.
The application
For this pipeline, I’ll use an existing “hello world” application. You can view the source on my GitHub account. It has the following features:
- It’s a Python project that uses Pipenv.
- It has basic unit tests.
- It includes a Dockerfile to create a docker Python image that is published to my public Docker Hub account.
Step 1. Create an account and project
Let’s start! If you don’t have a GitHub account, create one first. Then use your Github login to create a Buddy account. This way, Buddy has access to your repositories directly.
Step 2. Add the source repository
In GitHub, you should fork my “docker-python-example” repository, so it’s available as one of your own repositories in the next step.
Once you’ve done that, click the large “Create a new project” button in Buddy. You can choose one of your GitHub repositories. If everything went well, the “docker-python-example” repo should be there too:

Click the project. You should end up with the following screen:

Buddy detected this to be a Python application. Sweet! Once you’ve finished setting up the complete pipeline, you can download a buddy.yml file to store your pipeline with your code. I strongly recommend you do so for your own projects.
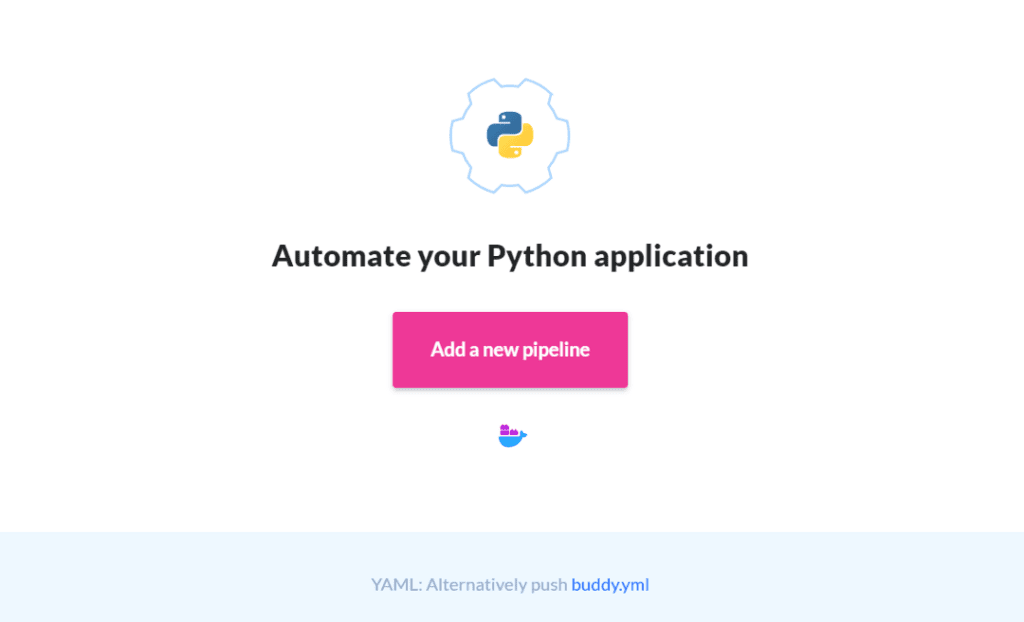
Step 3. Create a new pipeline and add actions
We’re ready to build a new pipeline. Click the “Add a new pipeline” button and fill out the form as follows:

We will run this pipeline everything something is pushed to the master branch. Alternatively, you can build your application recurrently or manually as well. Click the big blue button to add the new pipeline. Buddy has already taken a look at our code and will come up with a few suggestions:

Choose the Python action, and fill out the next form. If you want to follow along, you can copy/paste this:
pip install pipenv
pipenv install
pipenv run python3 tests.py
These actions:
- install pipenv using the pip install command,
- install all the requirements,
- and finally run the unit tests within our newly created environment.

You can choose the Python version here as well. Buddy runs each step in a Docker container, so you can even use your own custom Docker container if needed. For us, the default Python containers are fine. I picked version 3.8.6 because that’s what I know will work with this project. You can try the build step right now if you want, just to make sure it all works before you continue. As you can see below, I needed 4 tries because I forgot to check in some files to the Github repo. That’s no problem. We can keep trying until it works:

Now go back to your pipeline and click the little + below your first action. It allows you to add more actions. By default, the next action only runs if the previous one is finished without errors.
The next action to add is another one of the suggestions: the Dockerfile linter. It checks our Dockerfile for mistakes. That’s a nice-to-have extra. All the defaults are fine, so all we need to do is click “Add this action.”
Now it’s time to build the Docker image and push it to Docker Hub. Add another action, and again pick from the suggested actions. This time, it’s the one called “Build Image” (the one with the docker icon inside it).
The defaults on the “Setup” tab are fine. Head over to the “Options” tab and fill in your Docker Hub details. This is also the place where you can define your image tag.
We’ll do something straightforward: we always tag the image as latest. To keep the version history as well, we add an additional tag that uses a Buddy variable.
A what?! Buddy automatically defines a list of environment variables you can use in your project. A full list and more details can be found here. One of them is the shortened git revision number, accessible under ${BUDDY_EXECUTION_REVISION_SHORT}. We can use it to give our image a unique id:

The last action you want to add is a notification, so you’ll get notified of successful builds. I’ll demonstrate with a good old e-mail, but there are many other options, like:
- Slack
- Telegram
- MS Teams
- Discord
- SMS
The process is simple again. Click the little plus button under the last action, scroll through the available actions, and click e-mail. You’ll get a screen like this:

As you can see, you can use all the available environment variables to customize the message to your liking. In a more advanced setup, you probably want to tag your git repo with a version number and create a build trigger that triggers on new tags. This is a nice way of separating dev builds from release builds since this tag can be used as a variable to tag the docker image as well.
Step 4. Run the complete pipeline
You’re all set. When you push something to the master branch, your pipeline will start running. Alternatively, you can manually trigger a build as well. Let’s do that now:

If all goes well, you should end up with a green bar saying: “Passed.”
To make sure, you can go to your Docker Hub account and verify there’s a new image available. As you can see, our image is there with the correct tags: latest and a short hash, based on the last git commit:

Congratulations, you build a CI/CD pipeline. That wasn’t too hard now, was it?